
So you've fallen down the rabbit hole. Welcome to the custom mechanical keyboard hobby — one of the most rewarding (and dangerously addictive) communities in tech. Before you spend a single dollar, here's the ultimate beginner's checklist to help you build smart, avoid rookie mistakes, and end up with a board you'll actually love.
1. ✅ Decide on Your Use Case First
Before anything else, ask yourself: What is this keyboard for?
- Office / productivity — prioritize quiet switches, compact layout, wireless option
- Gaming — prioritize fast actuation, anti-ghosting, wired connection
- Typing / writing — prioritize sound profile, tactile feedback, ergonomics
- Showcase / collection — prioritize aesthetics, premium materials, artisan keycaps
Your use case determines every other decision on this list.
2. ✅ Choose Your Layout
Layout = the physical size and key count of your board. The most common options:
- Full-size (100%) — all keys including numpad; great for data entry
- TKL (80%) — no numpad; popular all-rounder
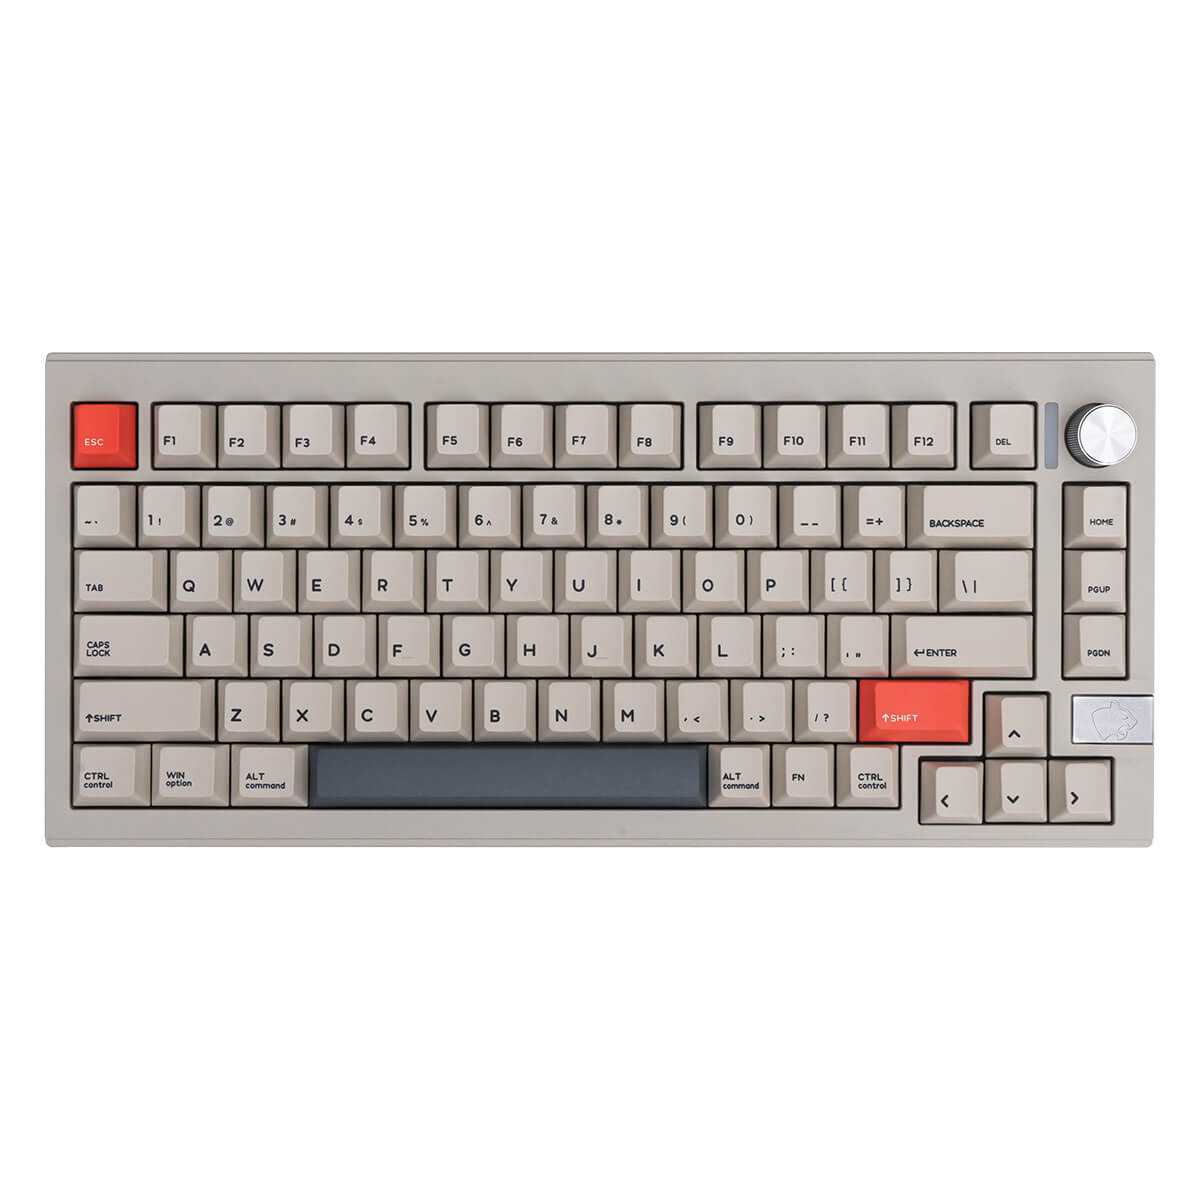
- 75% — compact with arrow keys and function row; most popular in custom builds
- 65% — no function row; clean and minimal
- 60% — ultra compact; requires learning layers
💡 Beginner tip: Start with 75% or TKL — compact enough to look great, functional enough to not frustrate you.
3. ✅ Pick Your Switch Type
Switches are the heart of your keyboard. There are three main types:
- Linear — smooth keystroke, no bump or click (e.g., Red, Yellow, Oil King). Great for gaming and quiet offices.
- Tactile — noticeable bump when actuated, no click (e.g., Brown, Boba U4). Great for typing and mixed use.
- Clicky — bump + audible click (e.g., Blue, Jade). Satisfying but loud — not office-friendly.
💡 Beginner tip: Order a switch tester before committing to 90+ switches. It's a $10–20 investment that saves you from a $60+ mistake.
4. ✅ Understand Keycap Profiles
Keycap profile = the shape and height of the keycaps. It affects how typing feels and sounds.
- Cherry — classic, slightly sculpted; the most common profile
- OEM — taller than Cherry; found on most stock keyboards
- SA — tall and spherical; retro look, loud sound
- XDA / DSA — flat and uniform; modern, minimalist feel
- KAT / MT3 — sculpted with a scooped top; beloved for typing feel
💡 Beginner tip: Cherry profile is the safest starting point — widely compatible and easy to find.
5. ✅ Set a Realistic Budget
Custom keyboards can range from $50 to $1,000+. Here's a rough breakdown:
- Entry level ($50–$150) — hotswap boards like Keychron or budget barebones kits
- Mid range ($150–$400) — aluminum cases, quality PCBs, premium switches and keycaps
- High end ($400+) — group buy boards, brass weights, artisan keycaps, limited editions
💡 Beginner tip: Start mid-range. Entry-level boards teach you the basics; mid-range boards teach you what you actually want.
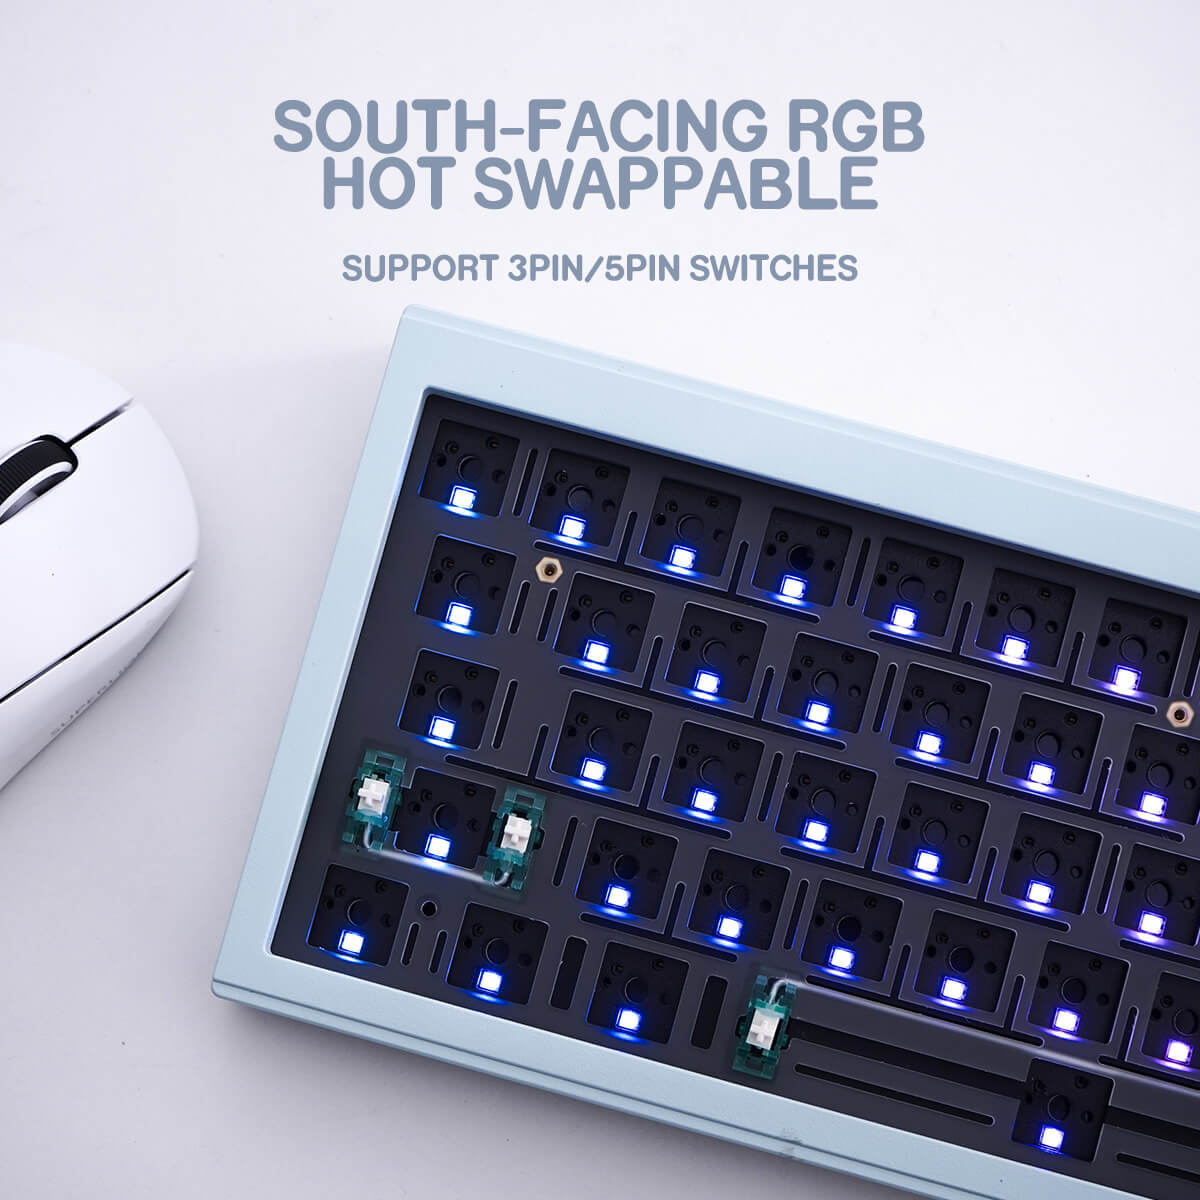
6. ✅ Go Hotswap for Your First Build
Hotswap PCBs let you swap switches without soldering. For beginners, this is a game-changer:
- Try different switches without buying a new board
- Fix a broken switch in seconds
- Experiment freely as your preferences evolve
Avoid soldered boards for your first build unless you already know how to solder.
7. ✅ Don't Skip the Foam & Mods
Sound and feel are heavily influenced by simple mods that cost almost nothing:
- Case foam — reduces hollowness and echo inside the case
- PCB foam / PE foam — adds a "poppy" or muted sound signature
- Band-aid mod — dampens the PCB stabilizer ping
- Lube your switches — smoother feel, quieter sound (linears especially)
- Lube & clip your stabilizers — eliminates rattle on larger keys
💡 Beginner tip: Lubing stabilizers alone will make a bigger difference than upgrading your switches.
8. ✅ Join the Community
The custom keyboard hobby is as much about community as it is about hardware:
- Browse r/mechanicalkeyboards for inspiration and advice
- Follow Geekhack and Keychatter for group buy announcements
- Watch YouTube build guides before your first assembly
- Ask questions — this community is genuinely welcoming to beginners
Your Beginner Build Checklist at a Glance
- ☑️ Define your use case
- ☑️ Choose your layout
- ☑️ Pick your switch type (get a tester first!)
- ☑️ Select a keycap profile
- ☑️ Set your budget
- ☑️ Go hotswap for flexibility
- ☑️ Plan your sound mods
- ☑️ Connect with the community
Ready to start your build? Browse our curated selection of keycaps, switches, and accessories — everything a beginner needs to build something they'll be proud of.