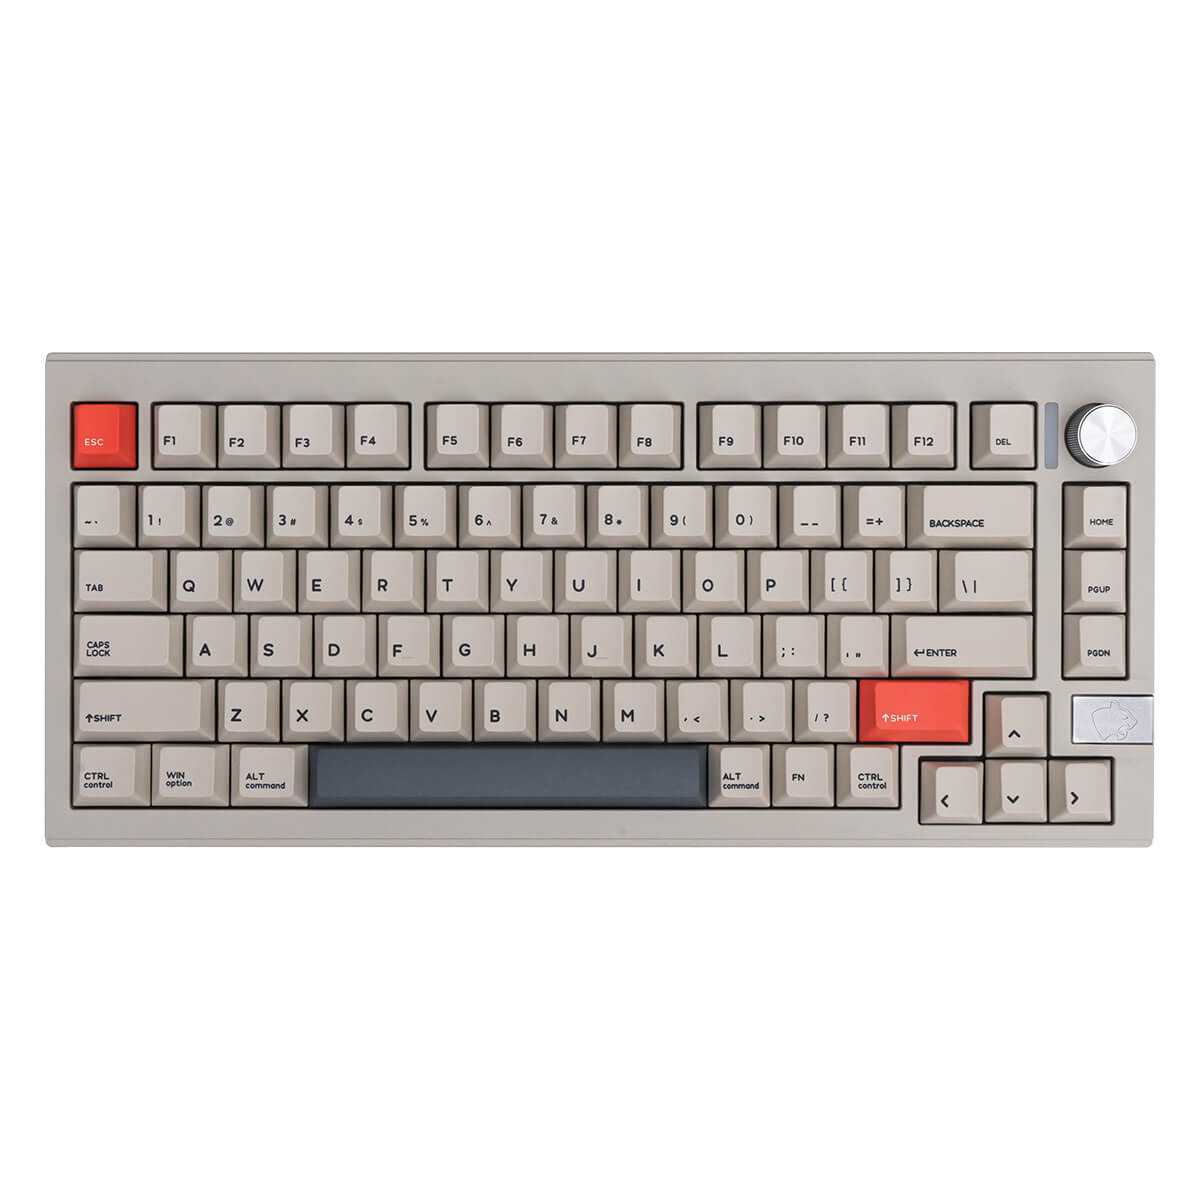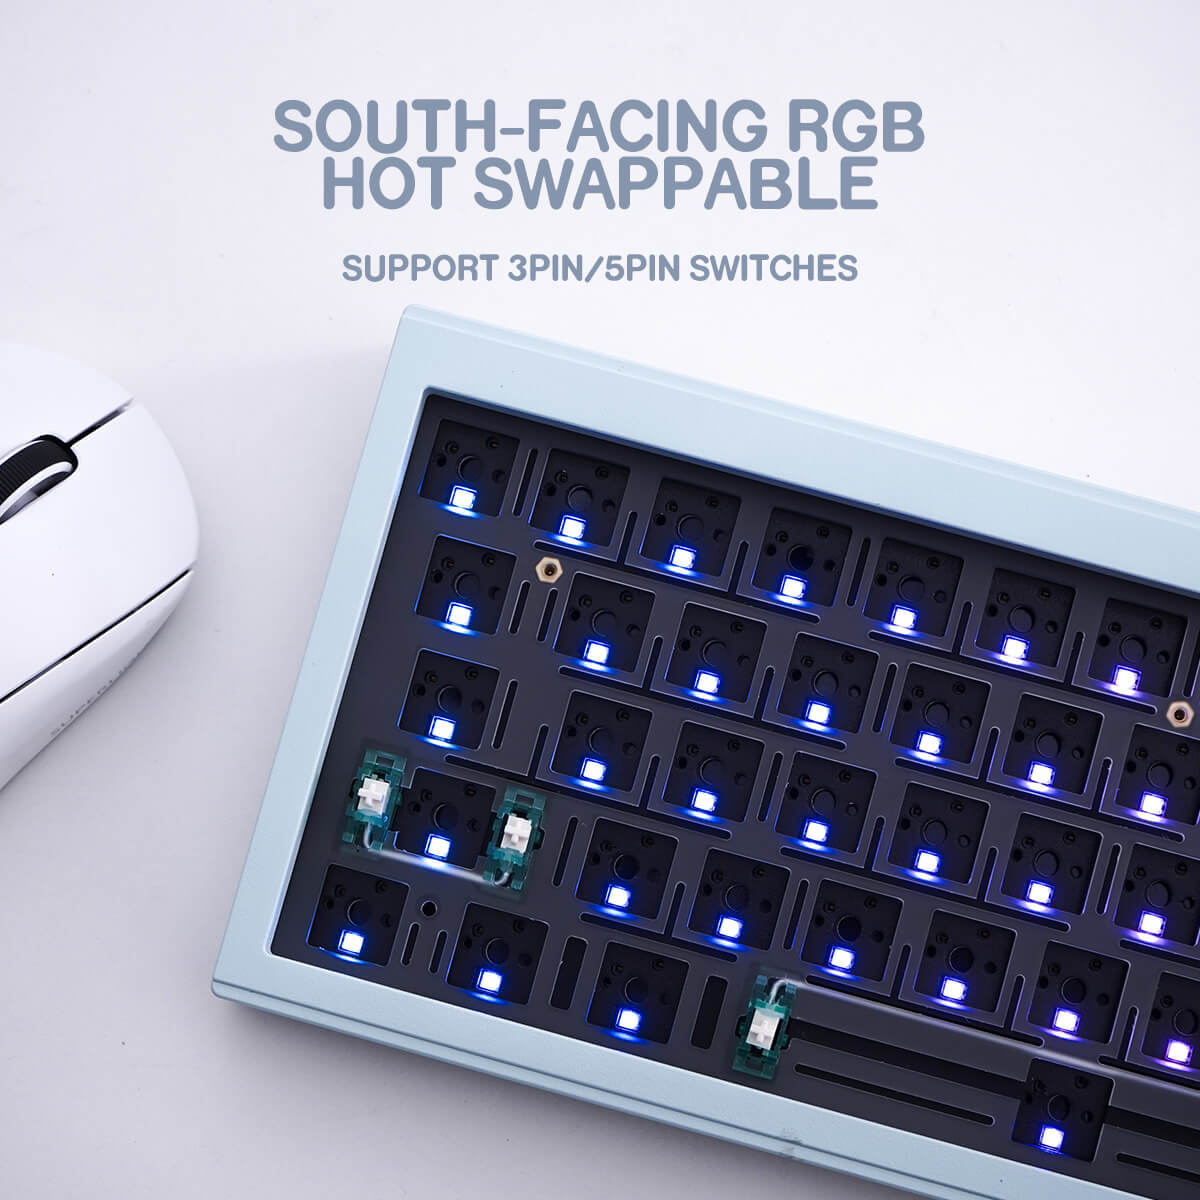
Want to try a different typing feel without picking up a soldering iron? A hot-swappable mechanical keyboard lets you remove and replace compatible switches individually. It is a friendly starting point for experimenting with feel, fixing a faulty switch, or changing your keyboard's sound. The catch: “hot-swappable” does not mean every switch fits every board. Here is what to check before you buy or pull your first switch.
How does a hot-swappable keyboard work?
On a soldered keyboard, the switch's metal contacts are attached to the circuit board with solder. On a hot-swap board, each switch plugs into a socket mounted on the PCB. Spring contacts inside compatible sockets, including designs made by Kailh, Gateron, and TTC, grip the switch's metal pins to make the electrical connection. You can remove a switch with a switch puller and install a compatible replacement without soldering. A straightforward swap can take seconds once you have access to the switch, though removing and replacing the keycap adds time. You still need the right tool and a careful hand.
3-pin vs. 5-pin switches: what actually fits?
A standard MX-style 3-pin switch has two metal electrical pins and one center plastic post. A 5-pin version adds two smaller plastic positioning legs on either side. Those extra legs help align the switch on the PCB, particularly on builds without a mounting plate. A plate-mounted switch relies on the plate for additional positioning, while a PCB-mounted 5-pin switch uses the extra legs for alignment. The plastic posts do not carry the keypress signal.
- 5-pin PCB: Its extra holes generally accept both 3-pin and 5-pin MX-style switches, provided the socket and switch type are otherwise compatible.
- 3-pin PCB: It accepts compatible 3-pin switches. A 5-pin MX-style switch can often be fitted by carefully clipping only its two outer plastic legs flush with precision flush cutters. Do not cut the two metal contacts or the center post. Clipping is irreversible and does not fix a socket-type mismatch.
Check the board's PCB photos or product specifications before ordering. Pin count is only one part of compatibility: MX-style mechanical switches are not interchangeable with optical or magnetic/Hall-effect switches unless the keyboard explicitly supports that exact system.
Standard MX hot-swap sockets vs. narrow pin-sleeve sockets
Not all boards advertised as hot-swappable use the same socket. Standard MX-compatible contact sockets are designed around compatible MX-style metal pins. Some budget boards instead use narrow pin-sleeve sockets, often associated with specific thin-pin switches; ordinary MX-style pins may not fit and forcing them can damage the switch or PCB. Look for an explicit MX-style switch compatibility statement and the keyboard maker's supported switch list, rather than assuming “hot-swap” means universal fit. Socket brand alone is not a guarantee of compatibility.
Four reasons to choose hot-swap
- Explore feel: Try smooth linear switches or tactile switches without committing to a soldered build. Our Switches collection is a place to compare options, and our linear vs. tactile vs. clicky guide explains the feel differences.
- Repair a single key: If the switch itself has failed, replace that switch instead of desoldering it. Test first: a nonresponsive key can also be caused by a bent pin, loose socket, or PCB fault.
- Make maintenance and sound experiments easier: Removing switches makes switch lubing and some sound-tuning projects more approachable, though disassembling or lubing a switch still takes time. For more on the sound side, read our keyboard sound-dampening guide.
- Mix switches by zone: You can try a heavier switch under the spacebar and lighter ones under letters, as long as each position supports the switch. If you are finishing the build, browse our Keycaps collection and verify keycap stem, layout, and size compatibility too.
How to swap switches safely
- Power off and remove the keycap. Unplug the keyboard or turn it off. Use a keycap puller, then grip the switch's top and bottom retaining clips with a switch puller. Squeeze the clips and pull straight up rather than twisting or levering against the plate.
- Inspect and align before inserting. Check that both metal pins are straight and match the socket openings. Make sure the switch orientation is correct and any plastic legs align with PCB holes. If you feel strong resistance, stop and inspect instead of forcing it.
- Seat, test, then replace the keycap. Press the switch evenly into place, reconnect the keyboard, and verify that the key registers with a trusted key-test tool or your keyboard's software. Once it works, install the keycap. If it does not, disconnect the board and check for bent pins before trying again.
Beginner buying checklist: Confirm the keyboard is hot-swappable, identify its socket and supported switch system, check whether its PCB has 3-pin or 5-pin holes, and keep a switch puller and a spare compatible switch handy. That quick check can save you from the most common hot-swap mistake: buying a switch that cannot physically or electrically fit your board.